Setting Up Your Environment
For the sake of consistency we'll be using Koding.com as our IDE and development environment for BoilerCamp 2015. If you already have a preferred development environment that you're comfortable with, then you can skip this.
Step 1 - Signup
Head on over to Koding.com and signup for an account.
Step 2 - Verify your account
You'll be sent a confirmation email. Sometimes it takes a few minutes to hit your inbox. Once you get it, enter in your code.
Step 3 - Create your VM
When you first login to your account your VM will be created. This can take up to 15 minutes, so don't fret if it's taking longer than expected.
Step 4 - Clone the project
We have some source files already setup for you on GitHub. Go ahead and clone the how-to-webdev project by running the following command in your Koding terminal.
$ git clone https://github.com/BoilerCamp/how-to-webdev.git
Step 5 - Install tools
We're almost done! We just need to install some programs that we'll be using throughout
the project. Specifically, we'll be installing http-server and bower. Run
the following command in your Koding terminal to install these tools.
$ sudo npm install -g http-server bower
You can read more about these tools in the glossary.
Step 6 - Test it!
We want to make sure everything works together now. Go ahead and run the following commands in your Koding terminal.
$ cd how-to-webdev
$ http-server
This will start a server on port 8080. We now want to see what this server is
serving. To do this we can open up our assigned Koding URL.
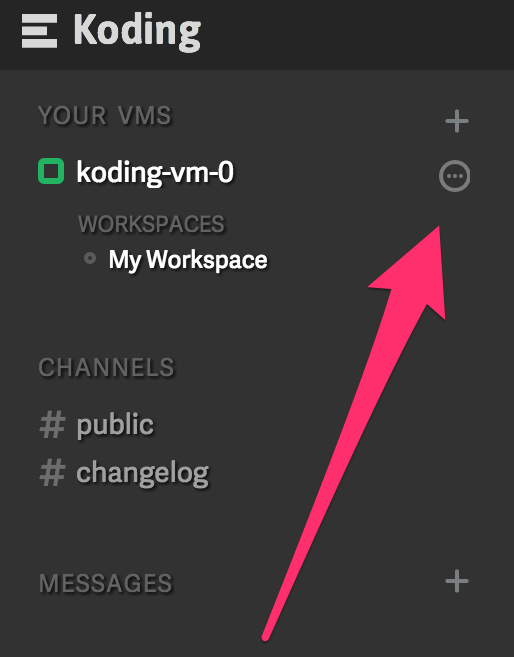
First, go to your VM settings by clicking the elipsis to the right of your VM name.
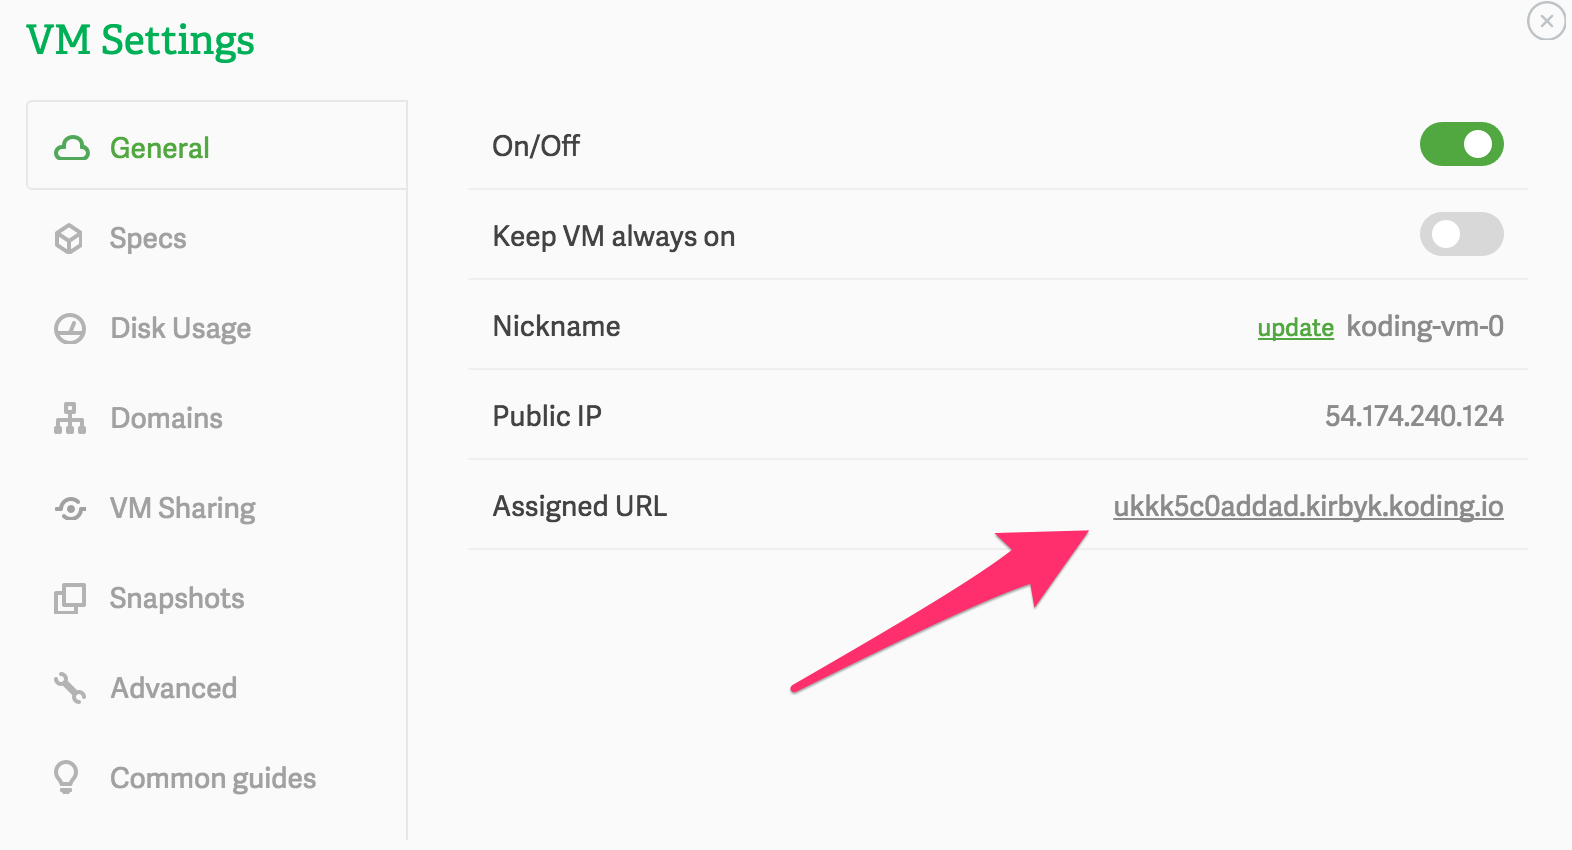
Next, find your assigned URL under the General tab.
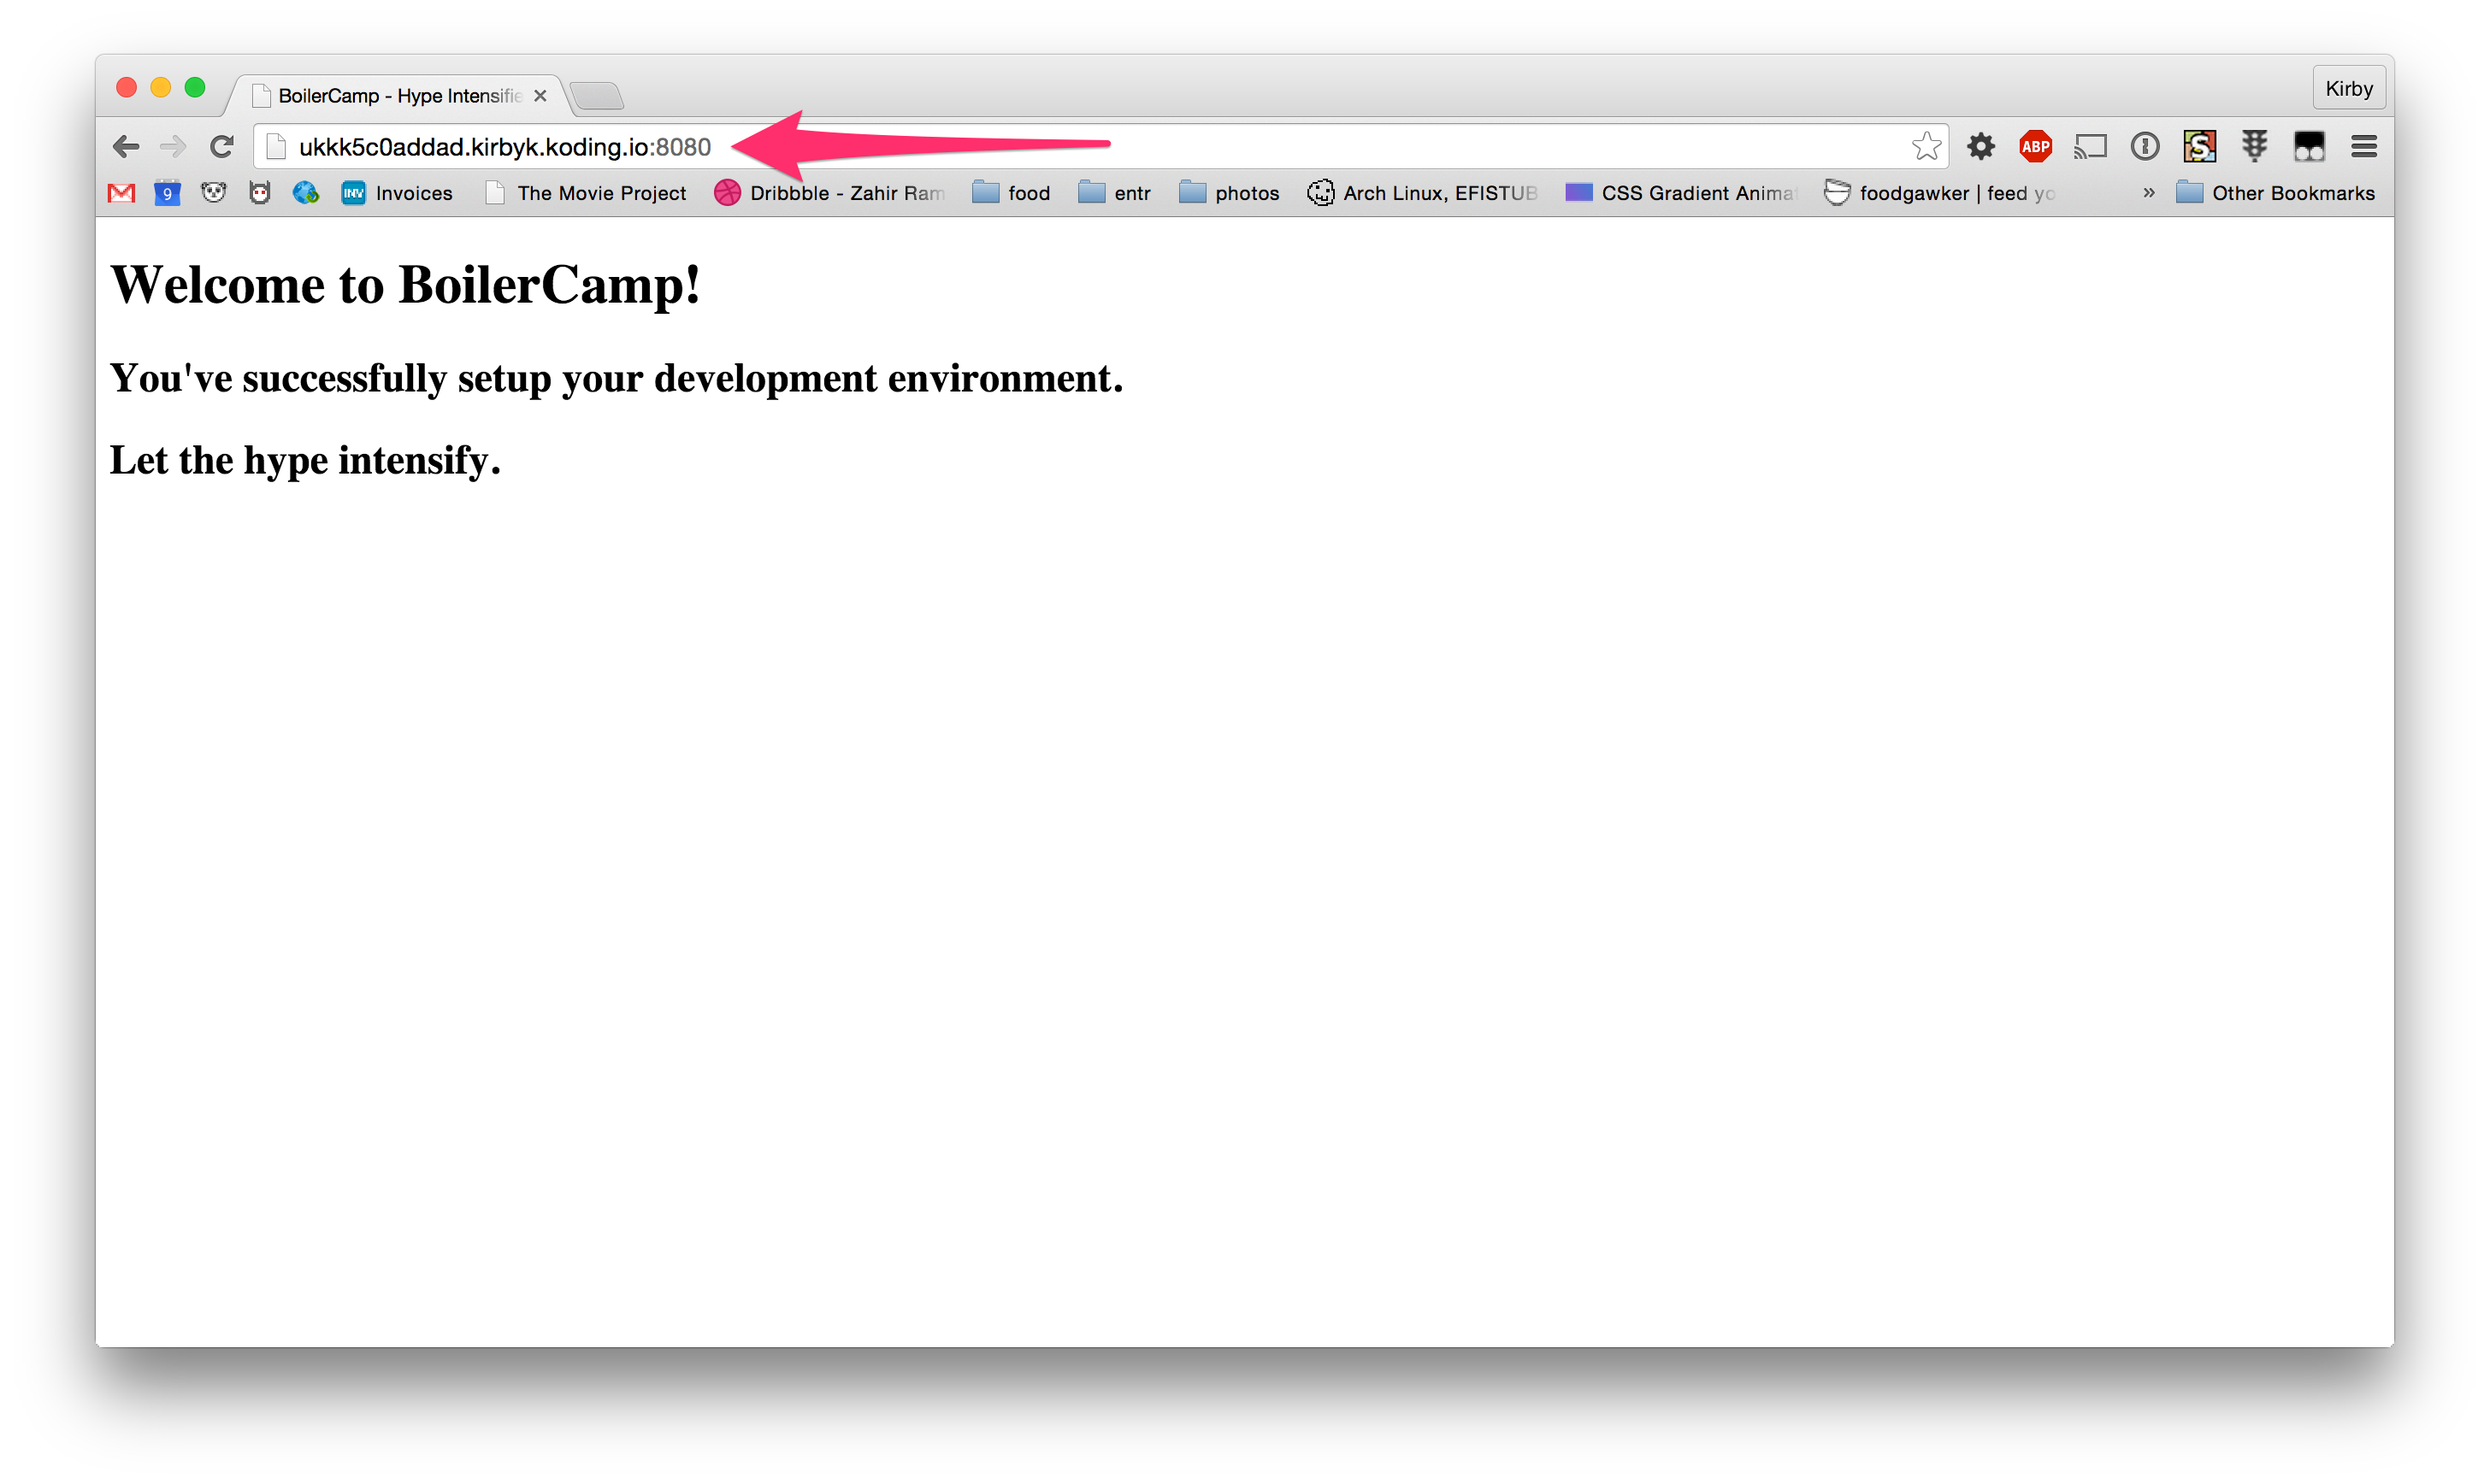
Finally, open a new tab in your browser to your assigned URL, but append :8080
to the end of the URL. (We append 8080, because that's the port our server is
running on)